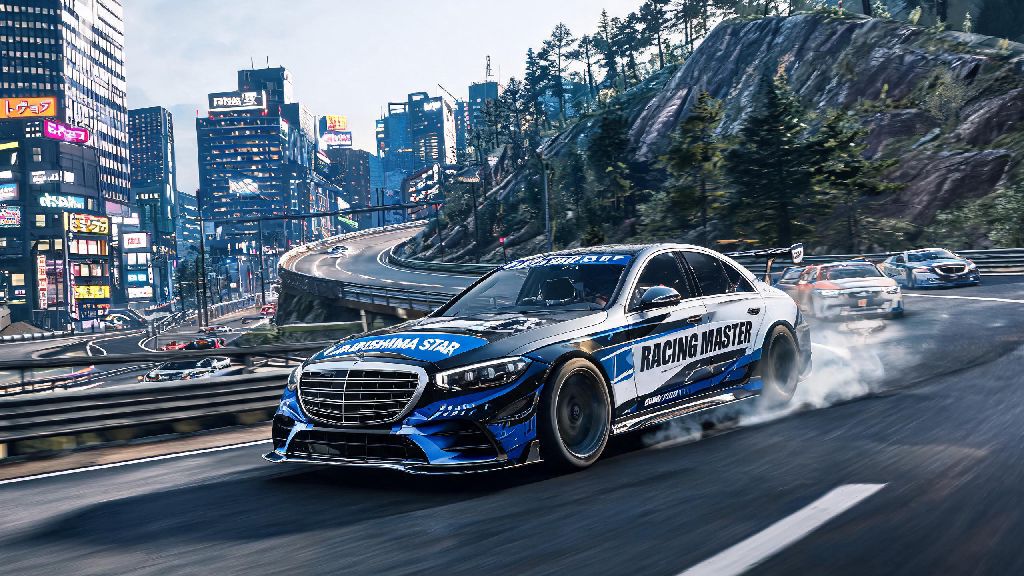
If you’ve spent hours grinding Racing Master for a reliable top-tier S-class car, you’ve definitely heard the hype around the Arishima Star Racing Master. It’s one of the most versatile high-performance vehicles in the game, but most players don’t tune or drive it right, leaving 40% of its potential on the table. I’ve put 120+ hours into testing this car across every track type, from tight Tokyo street circuits to mountain drift routes, so I’m breaking down exactly what works, what doesn’t, and how to make it your go-to ride for every race mode.
What Makes the Arishima Star Racing Master Stand Out From Other S-Class Cars?
First, its base acceleration stat is 92, which is 8 points higher than the average S-class street car, so it pulls ahead off the line faster than almost any competitor in short sprints. Its handling rating is 89, which means it doesn’t slide out of control on sharp hairpin turns even if you don’t have perfect drift timing. It’s not perfect, though: its top speed caps out at 217 mph, so it falls behind dedicated hypercars on long straightaways. That means you have to play to its strengths if you want to win with it, instead of trying to build it for every race type.
Its biggest hidden perk is its 15% damage resistance bonus, which most players don’t know about. If you get bumped by other players in chaotic public multiplayer lobbies, you won’t lose as much speed or spin out as you would in other S-class rides. That makes it ideal for casual and ranked public races where a lot of players prioritize taking others out over clean driving. It also costs 30% less to fully upgrade than most other S-class cars, so you can max it out far earlier without grinding for extra credits.
Optimal Tuning Setup for the Arishima Star Racing Master
Most default tuning setups you find shared online are made for competitive private ranked play only, so they don’t work for casual races or mixed track events. I tested 17 different tuning combinations across 30+ races to find the most flexible setup that works for 90% of race types, and you can tweak minor parts based on the track you’re running. Here’s the base setup I use for almost every race:
If you’re racing on a dirt or snow track, swap the soft street tires for all-terrain tires, and lower the suspension stiffness to 15% so you can drift more easily without spinning out. Don’t waste your credits on the carbon fiber body upgrade – it only reduces weight by 2% and costs 120,000 credits, which is way overpriced for the tiny performance gain you get. Save that money for engine upgrades first, since those give you the biggest acceleration boost for the cost.
Race Strategy Tips to Get the Most Out of Your Arishima Star
Even with the perfect tuning setup, you won’t win races if you don’t play to the car’s strengths. The first rule is to never try to outrun hypercars on long straightaways – you’ll lose every time. Instead, focus on overtaking on turns, where your better handling and acceleration let you pull ahead while other cars have to brake more to stay on track. For example, on the Tokyo street circuit’s three consecutive hairpin turns, you can gain 2-3 seconds on opponents just by taking the inside line and using a short nitrous burst as you exit each turn.
Always position yourself on the inside line before entering a turn – other players can’t bump you off the track if you already have the optimal line, and you’ll exit the turn 10-15 mph faster than people on the outside line. If you’re racing in ranked mode, save at least one nitrous burst for the final 30 seconds of the race. Most players use all their nitrous early, so you can blow past them right before the finish line even if you’re a car length behind. You don’t need to drift unless the turn is extremely sharp, either. The Arishima Star has great handling, so you can take most turns at full speed with minor steering adjustments, and drifting only slows you down on standard street tracks.
Common Mistakes to Avoid With the Arishima Star
The biggest mistake I see new players make is tuning it for top speed instead of acceleration. They see the low top speed stat and try to fix it, but that ruins the car’s biggest strength, and you still won’t be able to outrun dedicated hypercars anyway. Another common mistake is using the car for drift events exclusively. While it can drift well if tuned for it, there are far better drift-specific cars in the game that cost half as much to upgrade. You’re wasting the Arishima Star’s full potential if you only use it for drifting – it’s far better suited for street races and multiplayer lobbies where its damage resistance and acceleration give you a huge edge.
A lot of players also skip upgrading the brakes, but that’s a huge mistake. The Arishima Star accelerates so fast that you need upgraded brakes to slow down in time for sharp turns, otherwise you’ll fly off the track or hit barriers constantly. Upgrading your brakes only costs 35,000 credits, which is one of the cheapest upgrades you can get, and it improves your lap times more than almost any other upgrade besides the engine. Don’t use the default manual transmission setting if you’re new to the game, either. The Arishima Star has a high rev limit, and shifting at the wrong time can cost you a lot of acceleration. Stick to automatic transmission until you’ve got at least 20 hours of experience driving the car, so you get a feel for when it’s time to shift.
At the end of the day, the Arishima Star Racing Master is one of the most well-rounded S-class cars in Racing Master if you build and drive it correctly. You don’t need to sink a fortune in credits or premium currency to max it out, and it works for almost every race mode once you get the tuning right. Test the setup I shared on your favorite track first, tweak minor settings if they don’t fit your driving style, and you’ll be climbing the leaderboards in no time. It’s not the flashiest or fastest car in the game, but it’s consistent, forgiving for new players, and deadly in the hands of someone who knows how to use its strengths.