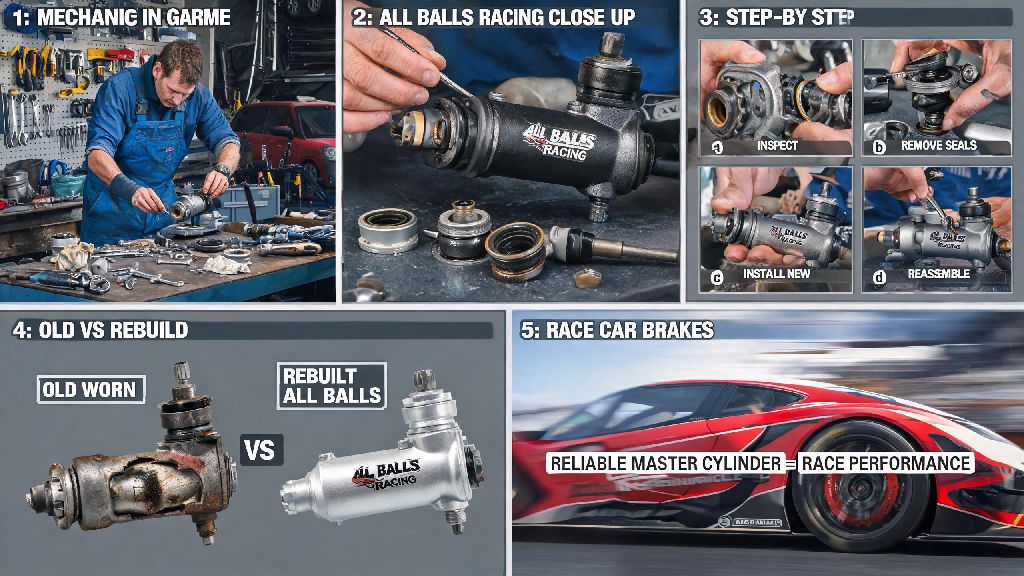
If you’ve ever pulled into the pits mid-track day with a spongy brake pedal that sinks halfway to the floor before you get any stopping power, you know how frustrating a failing master cylinder can be. Replacing the entire unit can run you $200 to $350 depending on your car model, which is a tough hit to the budget when you’re already covering tire costs and entry fees. An all balls racing master cylinder rebuild is the perfect middle ground: it costs 75% less than a new unit, uses higher-performance seals than most OEM parts, and only takes a couple of hours of work in your home garage. I’ve done this rebuild on three different race cars over the past six years, and I’ve only had one fail, and that was entirely my fault for rushing the process. This guide walks you through every step to get leak-free, consistent brake performance for your next race.
What Makes an All Balls Racing Master Cylinder Rebuild Worth Your Time?
You might be wondering why you should pick an All Balls kit over a cheaper no-name rebuild kit or just buying a new OEM master cylinder. Let’s start with the cost factor first: All Balls kits run between $25 and $45, which is a massive saving over even the most affordable aftermarket new master cylinders. That extra cash can go toward a fresh set of brake pads or another tank of race gas, which matters a lot if you’re racing on a tight budget like most of us.
The quality of the parts is another huge selling point. All Balls uses heat-resistant EPDM rubber seals that are designed to hold up to the extreme temperatures of racing brake systems, which regularly hit 300 to 500 degrees Fahrenheit during hard track use. OEM seals are made for street driving, so they break down much faster when exposed to consistent high heat and racing-grade brake fluid. I tested a cheap $12 rebuild kit on my Honda Civic race car a few years back, and the seals started leaking after only three track days. My last All Balls rebuild lasted 11 months of bi-weekly track time before I needed to service it again.
There are a few small downsides to keep in mind, of course. You won’t get a warranty on the parts if you mess up the installation, and you need to be precise with every step to avoid leaks. It also takes 1 to 2 hours of work, depending on how easy it is to access your master cylinder in the engine bay. But for most home racers, those tradeoffs are more than worth it for the performance and cost savings.
Prep Steps You Can’t Skip Before Starting Your Rebuild
The most common reason rebuilds fail is not prepping properly before you start taking parts apart. Even a single grain of dirt or a leftover piece of old seal can scratch the cylinder bore or tear a new seal, leading to leaks a few weeks down the line. I always set aside 15 minutes to get all my supplies and work area ready before I touch a single wrench, and it saves me a ton of headaches later. You’ll need the following supplies to get the job done right:
Once you have all your supplies, clear off a section of your workbench and wipe it down completely to remove any dust, metal shavings, or old grease. Never work on brake components on a dirty or cluttered surface, even if you think you’re being careful. I learned this the hard way when a tiny piece of welding slag got into my master cylinder during a rebuild a few years ago, and I had to tear the whole thing apart again a week later when it started leaking.
You also want to disconnect your car battery before you start working, especially if your master cylinder is located near the car’s ECU or other electrical components. Brake fluid is highly corrosive and can damage wiring and plastic parts if it spills, so keep a few extra rags on hand to clean up any spills immediately.
Step-by-Step Process for a Leak-Free Rebuild
First, remove the master cylinder from your car’s firewall. Start by siphoning all the old brake fluid out of the reservoir with a turkey baster (don’t use the same one for cooking later, obviously), then disconnect the brake lines running into the side of the unit. Plug the ends of the brake lines with a small piece of plastic or a rag to stop excess fluid from leaking out, then unbolt the two or three bolts holding the master cylinder to the firewall and pull it free.
Next, disassemble the old master cylinder. Push the piston assembly out of the bore from the back side, then remove all old seals, O-rings, and the old spring from inside the unit. Scrape any built-up gunk or old seal residue off the inside of the bore with a soft plastic tool, don’t use a screwdriver or anything metal that can scratch the surface. Inspect the cylinder bore carefully for scratches, pitting, or corrosion before you go any further. If you see any damage deeper than a light surface scuff, the rebuild won’t work, and you’ll need to buy a new master cylinder. Even a small scratch will let fluid leak past the new seals.
Once you confirm the bore is in good shape, spray every part of the master cylinder (including the reservoir and piston) with brake cleaner, and scrub off any remaining gunk with a microfiber cloth. Blow all the parts dry with compressed air, making sure there’s no leftover cleaner or lint trapped in small crevices. Then lube the new seals and O-rings from your All Balls kit with brake assembly lube, and slide them onto the piston carefully. Don’t twist or stretch the seals, as even a tiny tear will cause a leak. If the seal is tight, use a soft plastic tool to work it evenly onto the piston.
Slide the piston assembly back into the bore, then reassemble the end cap, spring, and reservoir fittings per the instructions included in your All Balls kit. Bench bleed the master cylinder before you reinstall it in the car to get all the air out of the unit. To do this, clamp the master cylinder in a vice, fill the reservoir with fresh brake fluid, and use a small screwdriver to push the piston in and out slowly until no more air bubbles come up through the fluid. This step saves you hours of bleeding the entire brake system later, so don’t skip it.
Post-Rebuild Checks to Avoid Track Day Disasters
Once you reinstall the master cylinder on the firewall and reattach the brake lines, you need to bleed the full brake system to get any remaining air out. Start with the caliper farthest from the master cylinder, and work your way closer one at a time. Have a friend press the brake pedal down while you open the bleeder valve, then close the valve before they let the pedal back up. Repeat this process until no more air bubbles come out of the bleeder, and the fluid runs clear. Make sure to top off the reservoir regularly as you bleed, so you don’t let air get back into the system.
Once you’re done bleeding, test the brake pedal firmness with the car turned off first. Press down on the pedal hard and hold it for 30 seconds. It should feel solid, and it shouldn’t sink slowly toward the floor. If it does, you either still have air in the system, or the seals inside the master cylinder are leaking. If that’s the case, you’ll need to pull the unit back apart and check for torn seals or misaligned components. I skipped this test a couple of years ago, and my pedal sank to the floor on the first lap of a race, sending me into the gravel trap. Don’t make that mistake.
If the pedal feels solid, start the car and test it again. Power brakes will feel a little softer with the car running, but it should still be firm and responsive. Take the car for a slow test drive around a parking lot, and do 10 to 15 slow stops from 10 to 15 miles per hour to make sure everything works as expected. Check under the hood for any leaks around the master cylinder fittings after the test drive, and top off the brake fluid one last time.
Do a full brake bedding process before you hit the track to seat the new seals and make sure your brake system is operating at full capacity. To do this, accelerate to 40 miles per hour, then brake firmly down to 10 miles per hour, repeating this 8 to 10 times without coming to a complete stop. Let the brakes cool for 10 minutes after this, and you’re good to go.
At the end of the day, an all balls racing master cylinder rebuild is one of the most cost-effective upgrades you can do for your race car’s brake system, and it’s accessible even for beginners who don’t have a ton of experience working on brakes. You don’t need any fancy specialty tools, just a little patience and attention to detail to get perfect results. If you take the time to prep properly, follow the steps carefully, and do all the post-rebuild checks, you’ll get reliable, consistent brake performance for months of track days, without breaking the bank. Next time your master cylinder starts acting up, skip the expensive replacement part and give the rebuild a try, you’ll be glad you did.