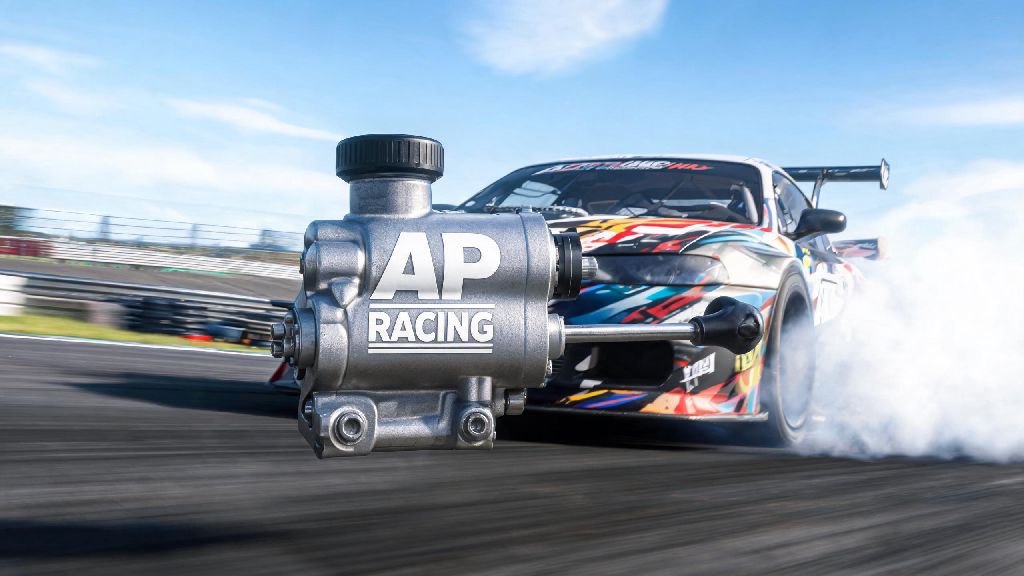
If you’ve ever lost a drift run or locked up unexpectedly mid-lap because your hand brake gave out, you know how critical a reliable hydraulic brake setup is. I learned this the hard way at a local circuit event three years back, when a cheap aftermarket master cylinder failed halfway through a qualifying run, sending me into the gravel trap. That’s the day I switched to an AP racing hand brake master cylinder, and I haven’t had a single brake-related DNF since. This guide draws on my years of amateur drift and time attack experience to walk you through everything you need to know to get the most out of this high-performance part.
Key Benefits of Upgrading to an AP Racing Hand Brake Master Cylinder
Most budget hand brake master cylinders cut corners on internal components to keep costs low, and that shows as soon as you put them under repeated heavy load. AP Racing’s units are built to FIA safety standards, so they hold up even through hours of back-to-back drift runs or endurance race laps. I’ve run mine through two full race seasons without needing a rebuild, which is something I never could say for the no-name unit I used previously. There are three core advantages that make this upgrade worth every penny, especially if you compete regularly:
Many new racers assume all hydraulic hand brake master cylinders are the same, but that’s a costly mistake. The difference in response between a budget unit and an AP Racing unit is night and day, especially in high-stakes situations where a split-second reaction can make or break your run.
How to Pick the Right Bore Size for Your Build
Choosing the wrong bore size is the most common mistake people make when buying this part, and it can leave you with a hand brake that’s either too stiff to pull easily or doesn’t provide enough stopping power to lock the rear wheels. Bore size directly impacts how much hydraulic pressure you generate per pound of force on the lever, so it’s not a detail you can skip over. For most drift builds running standard rear brake calipers, a 0.625” bore size is the sweet spot. It gives you enough leverage to lock the rear wheels with one finger if you want, without requiring excessive travel. If you’re running larger aftermarket rear calipers or a dual caliper setup for drifting, you may want to step up to a 0.7” bore size to generate enough pressure to activate both calipers at once. If you’re not sure what size to pick, start by checking your existing rear brake setup first, and match the master cylinder bore size to the total volume of your rear caliper pistons. You don’t want to oversize it, as that will make the lever feel stiff and unresponsive, and you don’t want to undersize it, as you’ll have to pull the lever all the way to the steering wheel to get any bite. Always test the feel of your setup on a closed lot before taking it to a track or event, even if you followed sizing guidelines perfectly.
Step-by-Step Installation and Bleeding Tips
Installing an AP racing hand brake master cylinder is a straightforward job if you have basic hand tools and a friend to help with bleeding, but there are a few small tricks that will save you hours of frustration down the line. First, always mount the master cylinder at a slight upward angle, with the reservoir port sitting higher than the outlet port to the calipers. This prevents air from getting trapped in the unit, which is the number one cause of spongy hand brake feel. I also recommend using high-temperature DOT 4 or DOT 5.1 brake fluid for race applications, as standard DOT 3 fluid will boil much faster under heavy use, leading to spongy feel or total failure mid-run. When you bleed the system, start with the caliper farthest from the master cylinder first, and work your way closer to make sure you get all air out of the lines. If you’re still getting spongy feel after multiple bleeding attempts, try gravity bleeding the system for 30 minutes before you do manual pressure bleeding. I’ve found this trick works far better than repeated pumping for stubborn air bubbles that get trapped in small crevices in the master cylinder or lines. Don’t skip bleeding the master cylinder itself before you connect the lines, either—this step takes 2 minutes and saves you a ton of time later.
Common Maintenance Mistakes to Avoid
Even the highest quality performance parts will fail prematurely if you don’t take care of them, and AP Racing hand brake master cylinders are no exception. The good news is they require very little maintenance if you avoid these common pitfalls that I see new racers make all the time. First, don’t ignore small leaks around the master cylinder seal. Even a tiny slow leak will let air enter the system over time, and eventually lead to total failure when you least expect it. If you see brake fluid collecting around the base of the unit, replace the internal seals immediately rather than just topping off the reservoir. Second, don’t use low-quality brake fluid or mix different types of brake fluid in the system. Mixing DOT 3 and DOT 5 fluid, for example, can cause corrosion inside the master cylinder and lines, leading to premature wear on internal components. Flush your entire brake system at least once per race season to remove old, contaminated fluid and check for signs of wear on seals and lines. Finally, don’t adjust the pushrod too tight. If there’s no free play in the lever, the master cylinder will stay partially engaged all the time, leading to overheated brakes, premature seal wear, and even locked rear wheels while you’re driving in a straight line. Aim for 1-2mm of free play at the lever before you feel resistance from the master cylinder, and test the adjustment regularly to make sure it doesn’t shift over time.
At the end of the day, upgrading to an AP racing hand brake master cylinder is one of the most cost-effective performance upgrades you can make for any drift, time attack, or circuit race build. It eliminates one of the most common points of failure in your brake system, and gives you the consistent, predictable response you need to push your limits on track without worrying about brake failure. Whether you’re a new racer building your first drift car or a seasoned competitor looking to upgrade your existing setup, taking the time to pick the right size, install it correctly, and keep up with basic maintenance will give you years of reliable use. I’ve recommended this upgrade to dozens of fellow racers over the years, and not a single one has regretted making the switch.